In LendingWise, there may be occasions when scheduled automated emails within a specific loan file need to be canceled. This guide explains the process of deleting or canceling these emails right from inside the loan file.
Steps to Cancel Automated Emails:
-
Navigate to the Loan File: Access the specific loan file you're working with in your LendingWise pipeline.
-
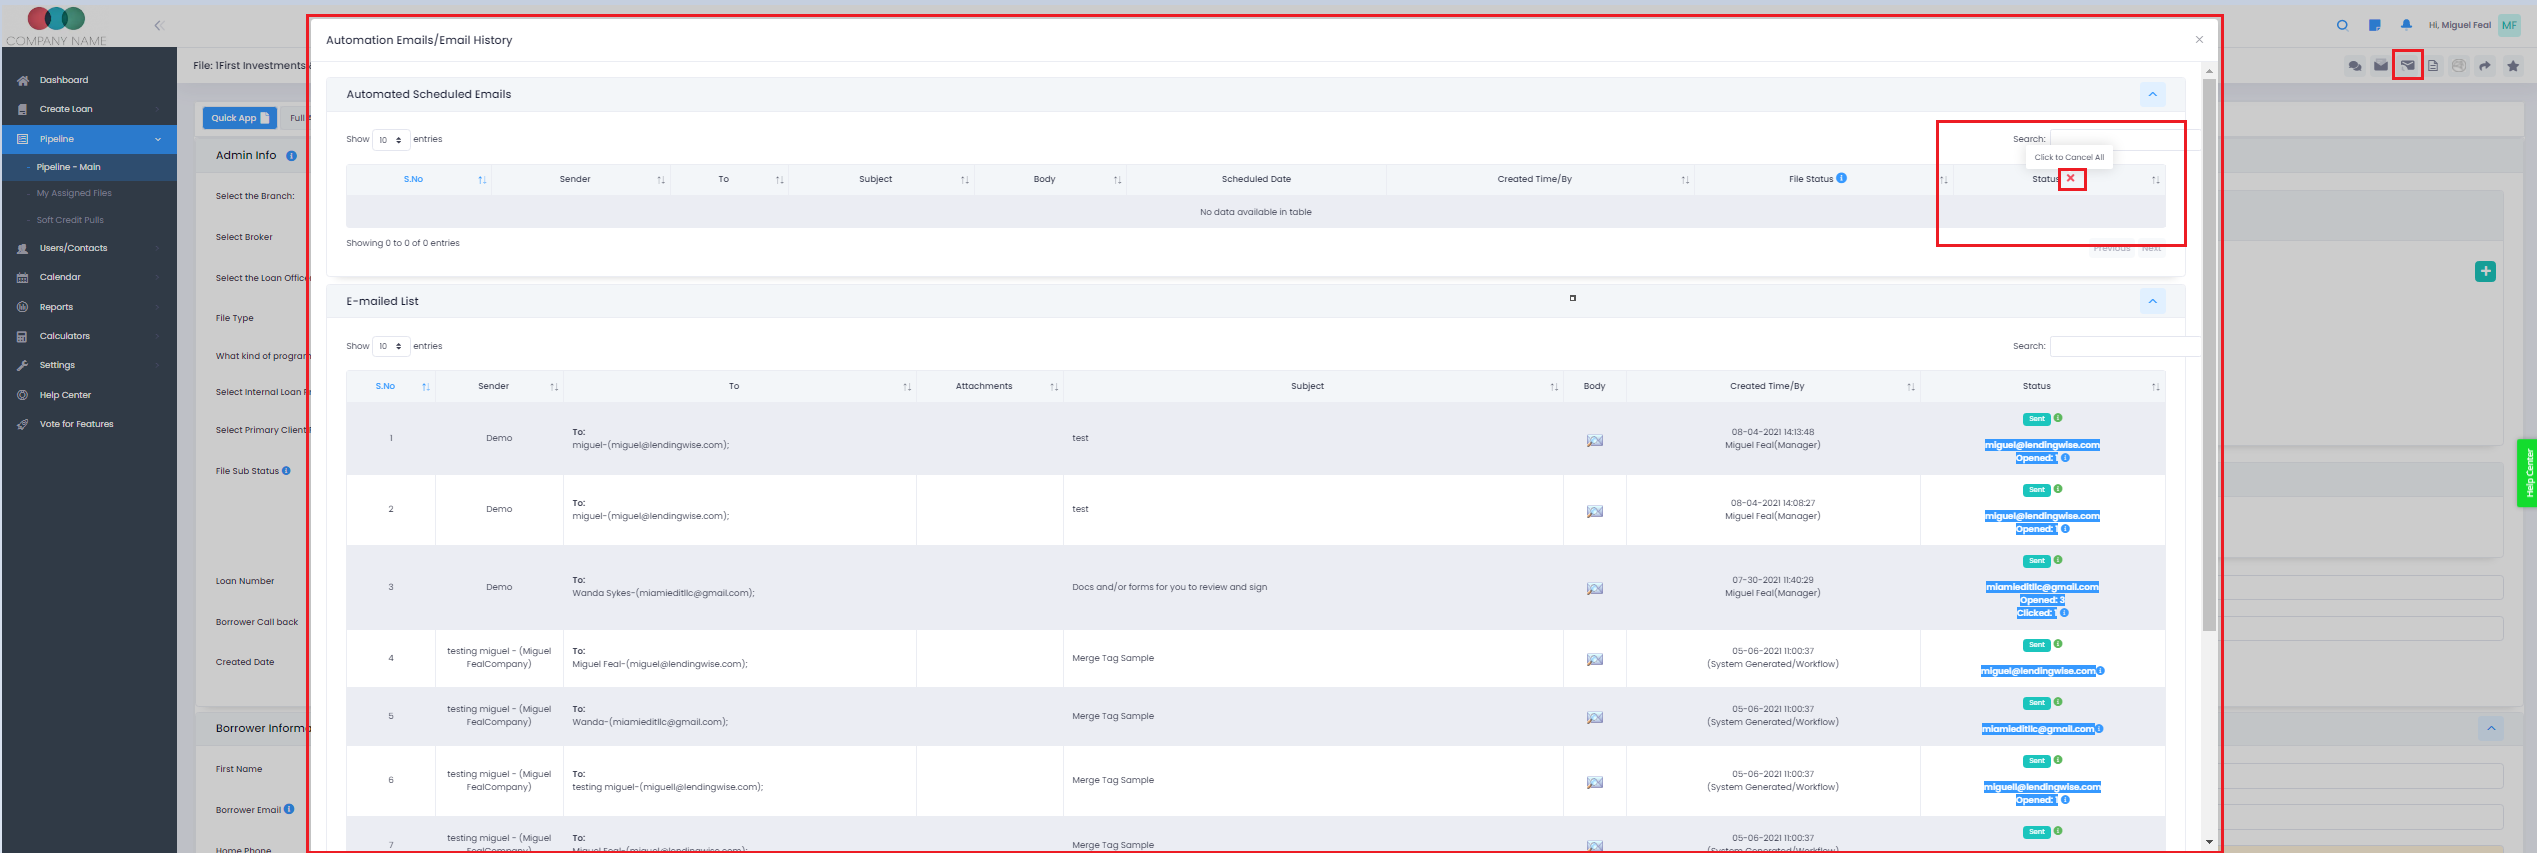
Inside the loan file, locate and click on 'Scheduled Emails/Email History' button located at the top right of the screen, next to the 'Compose Email' button. This section contains all emails scheduled to go out related to this loan file.
-
Cancel the Scheduled Emails: At this point, you can decide whether to cancel all scheduled emails or target them individually. If you need to cancel every scheduled email, simply click on the 'X' at the top of the column next to the word 'Status'.
For canceling specific emails, find the individual email you need to cancel and click the 'X' next to it.
By appropriately managing your automated emails within each loan file, you can properly coordinate your communications with clients. Should you need assistance or encounter any obstacles during this process, don't hesitate to contact the LendingWise support team at helpdesk@lendingwise.com.