Personalizing your LendingWise interface with your company and branch logos not only fosters a sense of brand identity, but it can also provide your borrowers a more immersive, personalized experience. Here is how you can easily upload these logos that will show both on your system and in certain auto-generated documents.
Company Logo Uploading:
-
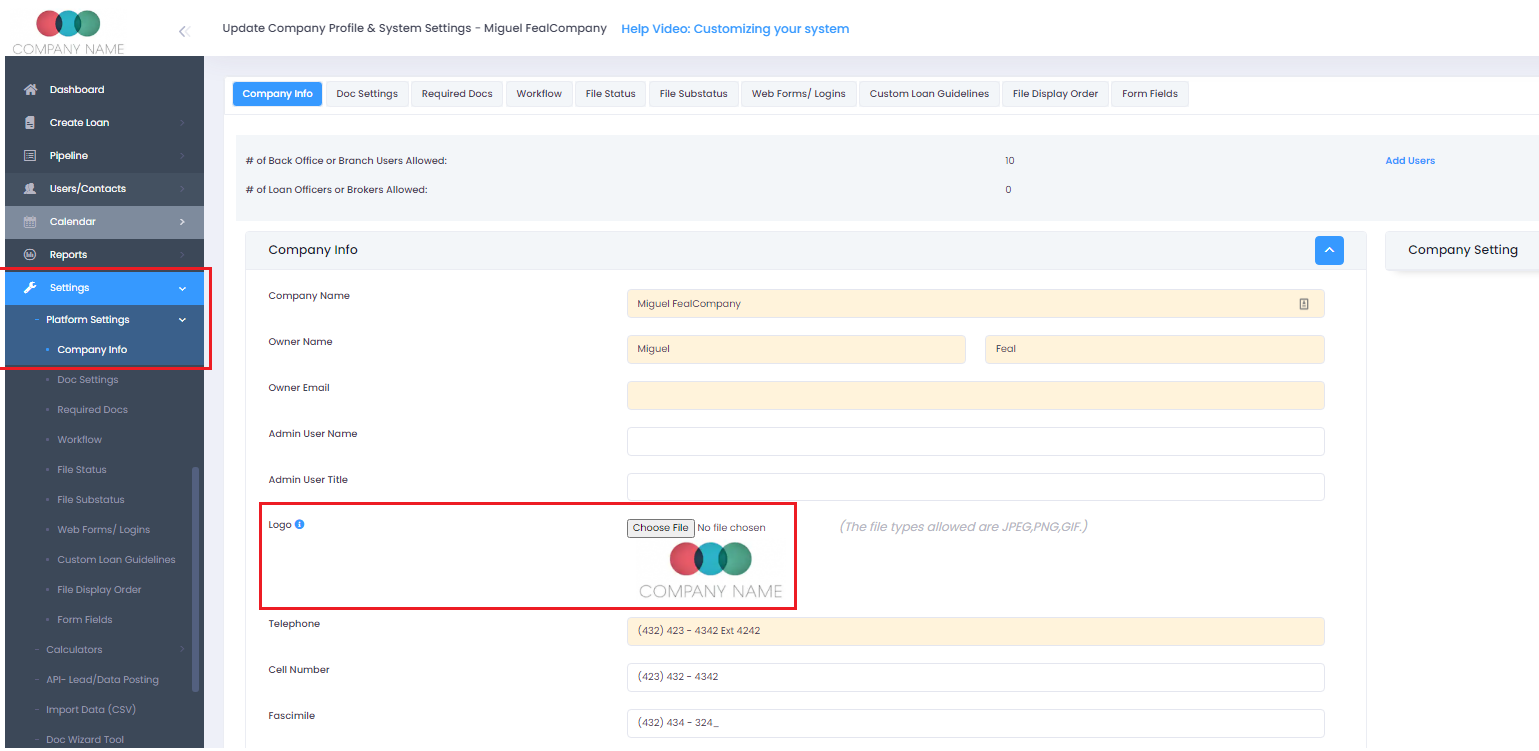
Navigate to Company Info: First, head to Platform Settings > Company Info
-
Upload Logo: Within 'Company Info', look for the 'Logo' section. Here you can upload the image file of your company logo.
-
Save Changes: After the logo has been successfully uploaded, scroll down to the bottom of the page and click on the 'Save' icon.
Please ensure the size of the image for the logo is 250px wide by 150px tall for optimal display.
Branch Logo Uploading:
-
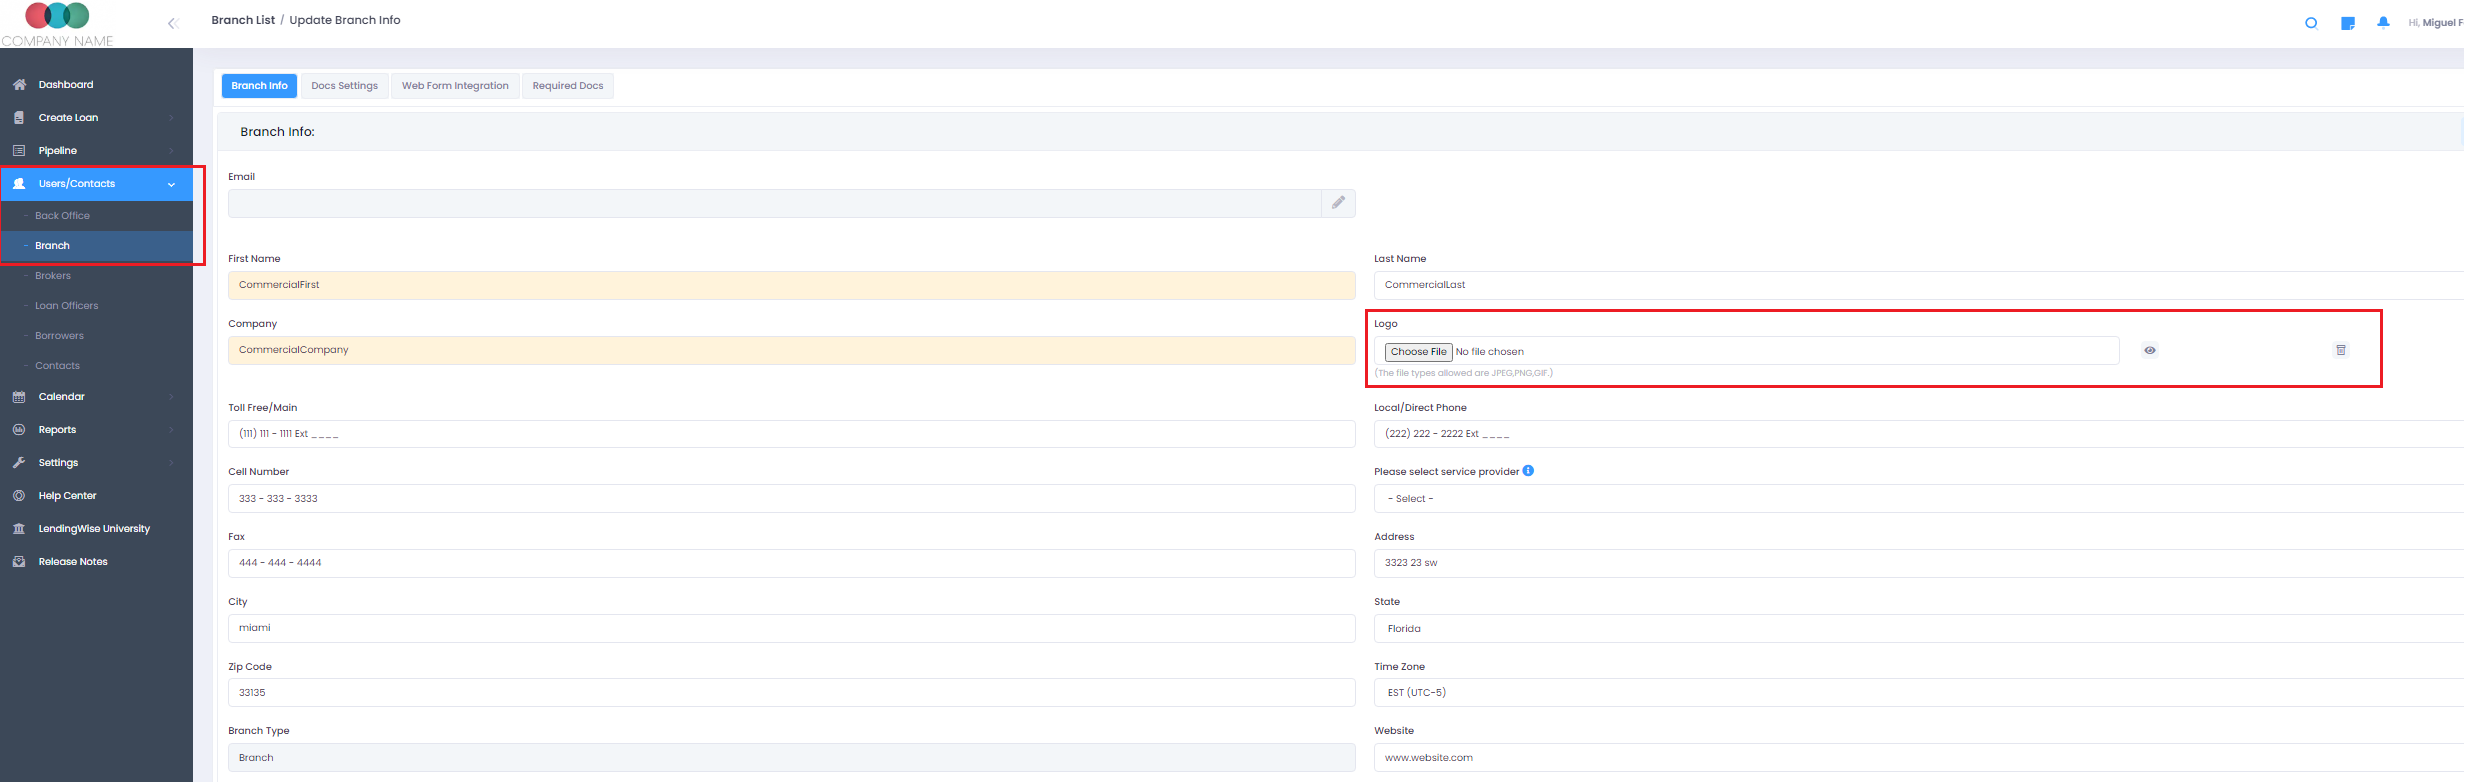
Navigate to Branch Info: Go to Users/Contacts > Branch List and select the branch for which you want to change the logo.
-
Upload Logo: In the 'Branch Info' section, you'll find the 'Logo' subsection where you can upload the branch's logo.
-
Save Changes: Once the logo is uploaded successfully, do not forget to click on the 'Save' icon at the bottom of the page.
By following these steps, you can imbue your LendingWise platform with your company's visual identity. Should you run into any issues or queries, don't hesitate to contact LendingWise support at helpdesk@lendingwise.com.